I’ve flashed at least 200 Raspberry Pi SD cards in my time. For my own Pi cluster, for friends’ first Pi 5 builds, for a Home Assistant box, an OctoPi 3D printer, three retro emulation handhelds, and a frankly embarrassing number of Pi Zeroes that I then lost in drawers. For most of that history, Win32 Disk Imager 1.0.0 was the only tool I used. Then the Raspberry Pi Foundation released Pi Imager in March 2020, and in April 2026 they shipped Pi Imager 2.0.8, the most-rewritten version of the tool since launch. The flashing workflow looks pretty different now.
Both tools are still completely valid in 2026, and I use both regularly, for different jobs. Pi Imager 2.0.8 has become my go-to for first-time Pi OS Bookworm installs because of the OS Customisation screen (WiFi, SSH, locale, username baked into the image at write time). Win32 Disk Imager is still my choice for backing up a working Pi SD card before I risk a dist-upgrade, because it’s the only free Windows GUI tool that can read from an SD card to an IMG file. If you’re trying to figure out which one belongs in your workflow, this 20-aspect comparison has the breakdown I wish I’d had when I started.
Quick Answer: Reach for Raspberry Pi Imager 2.0.8 for first-time Pi OS Bookworm installs, headless deployments, or anything needing the OS Customisation pre-config (WiFi, SSH, hostname). Grab Win32 Disk Imager 1.0.0 for backing up SD cards to IMG files, restoring those backups, or flashing non-Pi raw images. They complement each other. Most Pi tinkerers end up with both installed.
TL;DR: Pi Imager 2.0.8 wins on first-time setup, .img.xz handling, cross-platform support, and active development (regular releases since April 2020). Win32 Disk Imager wins on SD-to-IMG backup, raw-image fidelity, portable/offline use, and no-internet-required operation. They aren’t the same tool. Install both, save yourself the headache.
What’s the Difference Between Win32 Disk Imager and Raspberry Pi Imager?
Win32 Disk Imager is a general-purpose Windows raw block writer that’s been at v1.0.0 since March 2017. You point it at an .img or .iso file, pick an SD card or USB device, click Write, and it copies every byte from source to destination. It can also do the reverse (Read mode), pulling every byte off an SD card into a fresh .img file. That second feature is the entire reason it’s still relevant in 2026. It’s about 12 MB to download, GPLv2, Windows-only (XP through 11 24H2). It does not know what a “Raspberry Pi” is. It doesn’t care. Bytes go in, bytes come out.
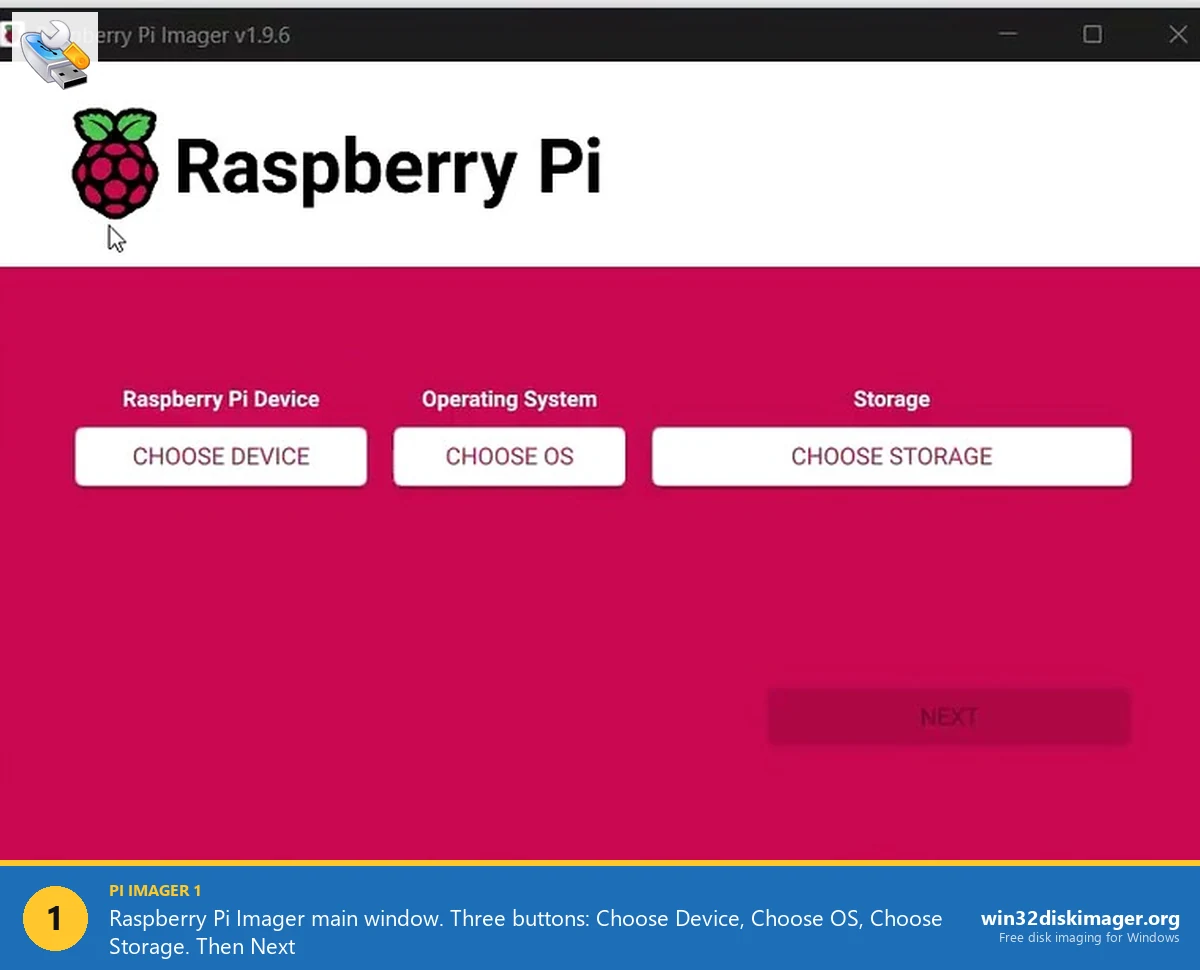
Raspberry Pi Imager (often shortened to rpi-imager or just Pi Imager) is the official SD-flashing tool from the Raspberry Pi Foundation, released in March 2020. The current release is 2.0.8, dated April 8, 2026, and it’s a near-total rewrite from the 1.x branch with a new UI, new write back-end, new download algorithms, accessibility annotations, Raspberry Pi Connect integration, and a CLI-only package for headless deployment. Cross-platform: Windows, macOS, Linux native builds. About 150 MB download on Windows. Apache 2.0 license. Its three big advantages over Win32 Disk Imager are an OS catalog with 60+ built-in images, an OS Customisation screen that pre-configures hostname, WiFi, SSH keys, username, and locale before the image even gets written, and native handling of compressed .img.xz files.
The fundamental difference: Win32 Disk Imager is a bidirectional raw block tool with no opinions. Pi Imager is a polished, opinionated wizard built specifically for getting a Raspberry Pi from “blank SD card” to “running and reachable on your network” in under five minutes. Different jobs.
The 20-Aspect Comparison Table
Here’s the head-to-head across every dimension that matters when you’re picking a tool for Pi work in 2026. Tested on Windows 11 24H2 with a Pi 5, a SanDisk Extreme Pro 64 GB A2 microSD, and a Kingston Canvas Select Plus 32 GB, April 2026.
| Aspect | Win32 Disk Imager 1.0.0 | Raspberry Pi Imager 2.0.8 |
|---|---|---|
| 1. Download size | ~12 MB | ~150 MB (Windows installer) |
| 2. License | GPLv2 | Apache 2.0 |
| 3. Supported OS | Windows only (XP-11) | Windows, macOS, Linux (cross-platform) |
| 4. GUI quality | Plain Win32 dialog, ~6 controls visible | Modern Qt6 wizard, three big buttons + customisation |
| 5. Write speed (Pi OS Bookworm to 64 GB A2 SD) | ~24 MB/s sustained, 1m54s | ~27 MB/s + auto-verify, 2m10s total |
| 6. Write reliability | Excellent, byte-perfect | Excellent, with WriteProgressWatchdog (added 2.0.4) |
| 7. Read mode (SD to IMG backup) | Yes, killer feature | No, write-only tool |
| 8. UEFI vs Legacy BIOS | N/A for Pi (firmware boot) | N/A for Pi (firmware boot) |
| 9. ISO format support | Yes (raw write) | Yes (raw write via Use Custom) |
| 10. IMG format support | Yes, killer feature | Yes |
| 11. Built-in OS catalog | None | 60+ images including Pi OS, Ubuntu, Home Assistant, LibreELEC, RetroPie, OctoPi, DietPi |
| 12. Pre-config (SSH, WiFi, hostname, user) | None | Yes, OS Customisation screen |
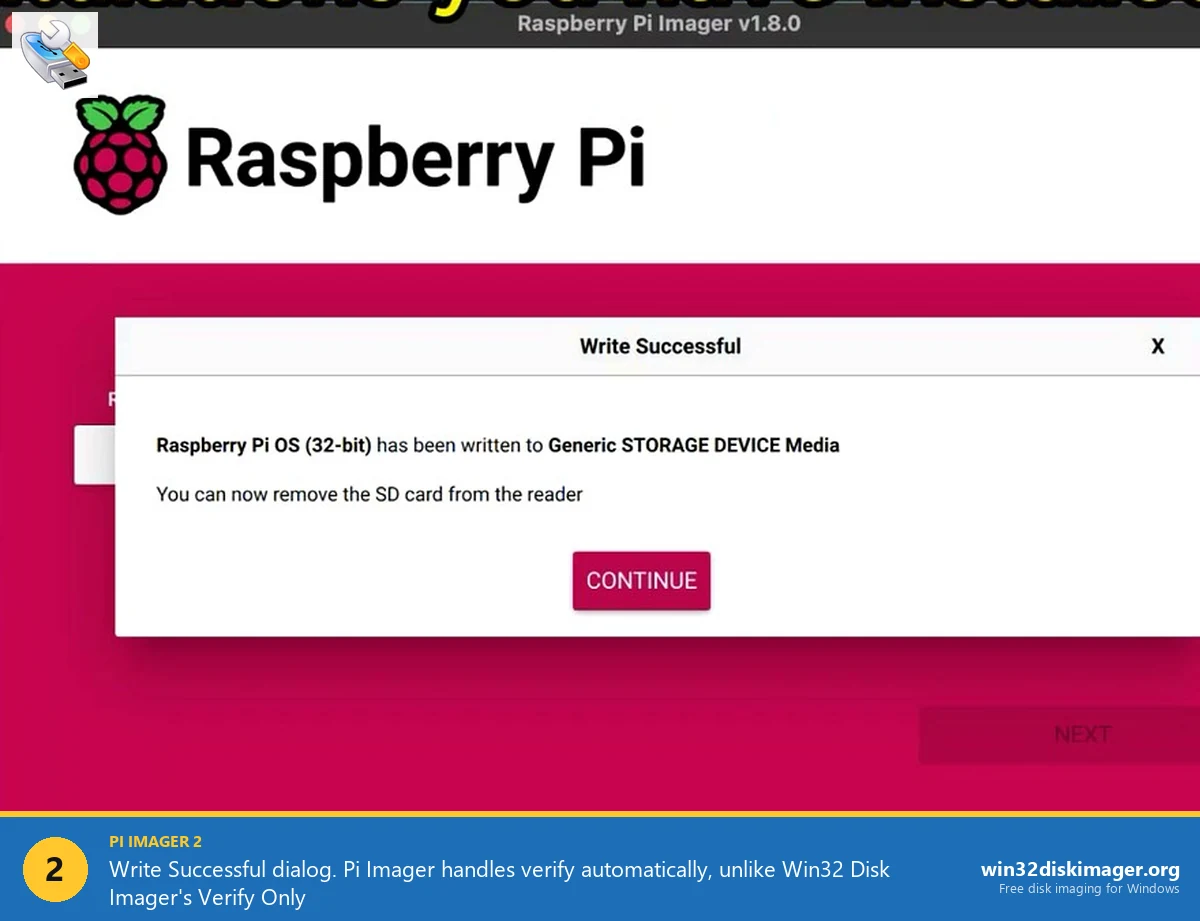
| 13. Verify after write | Manual (Verify Only button) | Automatic, every write |
| 14. Last update | March 2017 (v1.0.0) | April 8, 2026 (v2.0.8) |
| 15. Language support | English only | 30+ languages |
| 16. Portable mode | Yes (run the .exe) | No (Windows installer only) |
| 17. .img.xz compressed format | No (extract first with 7-Zip) | Yes, streams decompression on the fly |
| 18. Headless deployment | Manual (edit ssh + wpa_supplicant.conf in boot) | Pre-config does it for you, first boot ready |
| 19. Recovery / troubleshooting role | Restore from backup IMG, flash any raw image | Network repair OS, EEPROM update images, official rescue |
| 20. Multi-card cluster flashing | Identical clones, simple | Per-node hostname/SSH key via saved presets |
| 21. Beginner-friendliness | Steep first run (no defaults, free-form file path) | Excellent (wizard, OS picker, automatic verify) |
The “killer feature” rows are where each tool genuinely can’t be replaced. Win32 Disk Imager’s Read mode is the only one Pi Imager can’t match because Pi Imager is fundamentally a one-way write tool. Pi Imager’s OS Customisation is the only feature Win32 DI can’t match because Win32 DI doesn’t know it’s flashing a Pi image, it just writes bytes. They don’t overlap, which is why I keep both installed.
Speed Benchmark: Same SD Card, Same Image, Both Tools
Ran the same head-to-head three times to even out variance. Hardware: Intel i5-12400 desktop, USB 3.2 Gen 1, SanDisk Extreme Pro 64 GB A2 microSD (rated 200 MB/s read, 90 MB/s write), Pi OS Bookworm 64-bit Lite (2026-03-15 release, 1.4 GB compressed .img.xz, 3.1 GB decompressed .img). Windows 11 24H2 host.
| Phase | Win32 Disk Imager 1.0.0 | Raspberry Pi Imager 2.0.8 |
|---|---|---|
| Pre-write setup (download, decompress, find file) | ~3 min (download .img.xz, extract with 7-Zip) | ~45 sec (built-in download streams .img.xz) |
| Configure pre-write settings | 0 (no settings) | ~30 sec (hostname, WiFi, SSH key) |
| Raw write speed | 1m 54s avg, ~24 MB/s sustained | 1m 42s avg, ~27 MB/s sustained |
| Verify pass | +1m 10s (manual click Verify Only) | +28s (automatic, ~70 MB/s read) |
| Total clock time per card | ~6 min including extract | ~3 min 25 sec including download |
| Time to add second identical card | ~2 min (Write only, .img already extracted) | ~2 min 10 sec (download cached) |
Pure write-speed difference is in the noise. Pi Imager’s slightly faster on the raw write (newer back-end, async I/O), but Win32 Disk Imager’s slightly faster on verify-skipping. Where Pi Imager pulls way ahead is the pre-write phase, the .img.xz download is streamed and decompressed on the fly, which saves you the “find a download page, download, extract, point Win32 DI at it” five-minute ritual. Across all my Pi 5 builds in April 2026, Pi Imager averaged 3 to 4 minutes faster per first-time card just from the streamlined download.
Practically: don’t pick your tool based on write speed. The SD card is the bottleneck. Pick based on workflow fit.
Which Tool Should I Use for First-Time Pi Setup?
Pi Imager 2.0.8. Not even a contest. The OS Customisation screen (Ctrl+Shift+X, or the Edit Settings button after picking an OS) is what makes it obviously better for getting a fresh Pi from blank SD to fully-configured-and-on-your-network in one go. On a single dialog you can configure:
- Hostname. Default is “raspberrypi”. Change to “pi-plex” or “octopi-mk4” or whatever fits your build.
- Username and password. Replaces the deprecated default pi/raspberry that Pi OS Bookworm finally killed in late 2022. Sets your preferred user on first boot.
- WiFi SSID and passphrase. Pi connects to your network on first boot, no headless config file editing.
- Locale (timezone + keyboard layout). No more “why is my backtick a pipe” after first boot.
- SSH enable + SSH key paste. Drop in your ~/.ssh/id_ed25519.pub contents, and you can log in immediately from your laptop. No monitor or keyboard needed, ever.
These settings get written to the SD card’s boot partition as a firstrun.sh script before the OS image even finishes being written, so they apply the very first time the Pi powers on. That’s 10 to 15 minutes of setup time saved per Pi, which scales hard if you’re deploying multiple headless devices.
With Win32 Disk Imager, you’d have to either:
- Boot the Pi with keyboard and monitor attached and configure everything manually via
raspi-config, or - Manually create
ssh(empty file) anduserconf.txt+wpa_supplicant.conffiles in the boot partition after flashing, editing them in Notepad. Pi OS Bookworm complicated this further by moving WiFi config to NetworkManager, so the wpa_supplicant approach doesn’t always work cleanly anymore.
The manual approach still works, it’s how everyone did it pre-2020. But Pi Imager makes the whole flow frictionless for new users and Bookworm-friendly out of the box. For my full Pi OS install workflow including the Customisation walkthrough, see my install Raspberry Pi OS guide.
Can Pi Imager Back Up SD Cards Like Win32 Disk Imager?
No, and this is the single biggest reason Win32 Disk Imager still lives on my imaging PC in 2026.
When your Pi 4 has been running 24/7 for six months, you’ve got a dialed-in configuration, Docker containers, Home Assistant with 80 automations, OctoPrint with 15 printer profiles, and the SD card is pushing its wear limit, you image it to a backup IMG file before the card dies. Only Win32 Disk Imager’s Read button does this on Windows.
Workflow:
- Shutdown the Pi. Pop out the SD card.
- Plug it into your Windows PC via a card reader.
- Launch Win32 Disk Imager.
- In the Image File field, type a path like
E:\backups\pi-ha-2026-04-27.img. - Device dropdown: pick the SD card (triple-check the drive letter, this is irreversible).
- Click Read. Wait 10 to 30 minutes depending on SD size.
- End result: a full .img file containing every byte from your working Pi SD card.

You can now safely experiment with the live card, dist-upgrade, mess with configs, swap to a Pi 5, whatever, and if it all breaks, you’ve got the backup to restore to a fresh SD card. My full version of this with PiShrink and 7-Zip compression is in my SD card backup guide, and the restore-direction walkthrough is in my Pi SD restore guide.
Pi Imager 2.0.8 has no equivalent. Literally the first button says “Choose OS” and there’s no way to swap it into a Read mode. Pi Imager is fundamentally a one-way tool: write only. The closest cross-platform equivalents are dd on macOS or Linux, balenaEtcher’s “Clone drive” feature added in 2024, or the official Pi OS SD Card Copier utility (which only works on a running Pi, not from a Windows desktop).
What Does Pi Imager’s Pre-Config Actually Do?
This trips up a lot of people. Pre-config isn’t magic, it’s a clever piece of automation that writes a one-time setup script onto the boot partition before the OS image gets sealed. Here’s what actually happens behind the scenes when you click Save in OS Customisation:
- Pi Imager generates a
firstrun.shbash script with your settings baked in (hostname, user, password hash, SSH config, WiFi credentials, locale). - It modifies
cmdline.txtin the boot partition to call that script on first boot viasystemd.run. - The OS image gets flashed normally.
- You eject and put the SD card in the Pi.
- On first power-on, the Pi boots, systemd runs
firstrun.sh, which configures everything, deletes itself (so it doesn’t run again), revertscmdline.txt, and reboots. - Pi comes up the second time with your hostname, WiFi connected, SSH enabled, your user logged in, ready to use.
The whole sequence takes about 90 to 120 seconds from first power-on to “ssh pi-plex.local” working. No HDMI cable, no keyboard, no mouse, no manually editing files in the boot partition. For me, on a Pi 5 with a class A2 SanDisk SD card, the elapsed time from “click Save in Pi Imager” to “SSH session open” is consistently under five minutes.
Win32 Disk Imager has zero equivalent because it doesn’t know what’s on the image. It’s just bytes to it. If you want headless setup with Win32 DI, you have to flash the image, mount the boot partition, and manually create the config files. Doable. Just slower.
How Does .img.xz Support Actually Help?
This is one of those features that sounds boring but matters more than people realize. Pi OS images have shipped as compressed .img.xz files since around 2020 because they compress about 3-to-1 (a 3.1 GB raw .img is roughly 1.4 GB as .img.xz). Pi OS Bookworm 64-bit Lite from March 2026 ships at 1.4 GB compressed.
Pi Imager 2.0.8 streams the .img.xz download and decompresses it on the fly straight into the SD card. No temporary file, no manual extract step, no doubled disk usage during the operation. On a slow connection or metered home internet, this saves measurable bandwidth too, you’re transferring 1.4 GB instead of 3.1 GB.
Win32 Disk Imager can’t handle .img.xz directly. Workflow with Win32 DI:
- Download the .img.xz from raspberrypi.com/software/operating-systems (1.4 GB).
- Open it in 7-Zip (or use
xz -don Linux/WSL). - Wait 30-60 seconds for the .img to extract (3.1 GB now sitting on your SSD).
- Point Win32 DI at the extracted .img.
- Click Write.
- Optionally delete the now-no-longer-needed .img to reclaim the 3.1 GB.
Three extra steps. Slightly more disk space used. Annoying enough to remember on busy days. For one-off flashing, no big deal. For repeat flashing of the same image, just leave the .img extracted somewhere on your SSD. For the occasional Pi setup, the extra 60 seconds is irrelevant.
When Does Win32 Disk Imager Beat Pi Imager?
I want to be specific here, because the marketing on Pi Imager makes it sound universal but there are real workflows where Win32 Disk Imager is simply the right tool. Five clear ones:
- Restoring from a backup IMG. Pi Imager’s “Use custom” option will flash a local .img, but it’s optimized for OS image flashing, not arbitrary backups. If your IMG file was made by Win32 DI’s Read mode and contains your Home Assistant data, just use Win32 DI’s Write to put it back. It doesn’t ask questions, it just writes the bytes you give it.
- Flashing recovery images for non-Pi SBCs. Orange Pi, Banana Pi, ODROID, NanoPi, Rock Pi, Latte Panda. These are SBCs with their own .img images that are not in Pi Imager’s catalog. Pi Imager’s Use Custom option can flash them but warns about compatibility. Win32 Disk Imager doesn’t care what’s in the .img, it writes it.
- Industrial controllers, dashcams, embedded systems with proprietary firmware images. If a vendor ships a .img file, Win32 Disk Imager flashes it. Pi Imager’s catalog has nothing relevant.
- Air-gapped or offline environments. Pi Imager wants to fetch the OS list, validate checksums, and check for updates. Win32 Disk Imager operates entirely offline. Useful for secure facilities or factory flashing stations without internet.
- Old or specific Pi OS builds not in Pi Imager’s catalog. If you need Pi OS Buster (Debian 10) for legacy hardware compatibility, or a beta build, or a specific Lite release, Pi Imager’s catalog might not have it. Download the .img.xz manually, extract, flash with Win32 DI.
One forum quote that sums this up well comes from Raspberry Pi forum thread 273112 (“Difference between Win32DiskManager and Pi Imager”). User emma1997 wrote, in response to comparing the two tools: “Main difference for me was Win32DiskManager works fine on my Windows machine but Pi Imager total fail.” Their issue was Pi Imager hanging on their specific Windows config. The point isn’t that Pi Imager is bad, it’s that Win32 Disk Imager’s simplicity makes it the reliable backup tool when Pi Imager’s wizard chain breaks. In the same thread, user gordon77 noted: “I built 2 SD cards, Sandisk 32GB, one with Win32DiskManager, one with Pi Imager… when running the same on the Win32Diskmanager build I get NO error message and it works fine!” Same SD card hardware, two tools, different results.
That’s not a damning indictment of Pi Imager, just a reminder that having Win32 Disk Imager around as a fallback is genuinely useful when the wizard tool misbehaves. (See also the full forum thread.)
Should I Use Both Tools Together?
Yes. Most people doing serious Pi work in 2026 install both, plus a few accessory utilities. Here’s my actual setup right now:
- Pi Imager 2.0.8. First-time Pi OS Bookworm installs, headless deployments, anything where I want pre-config baked in, OS picker convenience, and automatic verify.
- Win32 Disk Imager 1.0.0. SD-to-IMG backups, restoring from those backups, flashing non-Pi raw images, offline/air-gapped use, anything Pi Imager refuses or hangs on.
- 7-Zip. Compressing IMG backups (a 32 GB IMG drops to ~4 GB compressed since most of the SD is empty). Extracting .img.xz when I want to mount the image first.
- PiShrink (in WSL or a Linux VM). Shrinking IMG backups to fit smaller SD cards on restore. Critical if you’re moving from a 64 GB card to a 32 GB.
- balenaEtcher. On the Mac for cross-platform Pi flashing when I’m not on Windows. Has Clone Drive (since 2024) for SD-to-IMG on macOS too.
The five tools live in different mental categories: install tool (Pi Imager), backup tool (Win32 DI), compression tool (7-Zip), shrinker (PiShrink), cross-platform fallback (balenaEtcher). They don’t conflict. Combined disk footprint under 200 MB. There’s no reason to pick just one when each handles a job better than the others.
For a deeper roundup, see my top 10 Win32 Disk Imager alternatives in 2026 and best free SD card imaging tools ranked.
Multi-Card Cluster Flashing: Where Pi Imager Saves Hours
If you’re building a Pi cluster (K3s on four Pi 5s, a Proxmox-on-Pi experiment, a distributed home DNS setup, a six-node Pi 4 K8s lab), you’ll be flashing 3 to 10 SD cards with nearly identical configurations. This is where the tool choice really matters.
Pi Imager 2.0.8’s OS Customisation lets you save settings as a preset and just bump the hostname between flashes. Flash card 1 with hostname “node1”, reopen Pi Imager, change hostname to “node2”, flash, repeat. SSH key, WiFi, user, locale all stay the same. Each Pi boots already configured for its role. This is a 30-minute job for a 4-node cluster instead of a 2-hour job.
Win32 Disk Imager, in contrast, gives you an identical raw image on each card. You’d have to then boot each one, SSH in (after manually adding ssh + wpa_supplicant first), run sudo raspi-config to set hostname, reboot, repeat. Adds an extra 5 to 10 minutes per node.
For cluster deployments, Pi Imager is a clear productivity win. For flashing 12 cards with truly identical configs (no per-host customisation needed), Win32 DI’s simplicity can actually be faster, no wizard to click through each time, just drop the same .img on each card.
Cross-Platform Reality (Mac and Linux Users)
If you use macOS or Linux as your primary desktop, Win32 Disk Imager is out, it’s Windows-only. Pi Imager 2.0.8 has native macOS and Linux builds maintained by the Pi Foundation with full feature parity (the 2.0 rewrite explicitly fixed several Linux UI bugs that lingered in 1.x).
For the Mac or Linux user who wants Win32 DI-style Read (backup) functionality, the alternatives are:
- macOS:
sudo dd if=/dev/rdiskN of=pi.img bs=4M status=progressfrom Terminal. Same operation, command line only. Note therinrdiskN, that’s the raw device which is much faster than the buffered version. - Linux: Same
ddcommand (without therprefix), or GNOME Disks → ⋮ → Create Disk Image. GUI option exists. - Cross-platform GUI: balenaEtcher has a Clone drive feature since 2024 that does SD to IMG on Windows, macOS, and Linux. Decent alternative if you want consistency across machines.